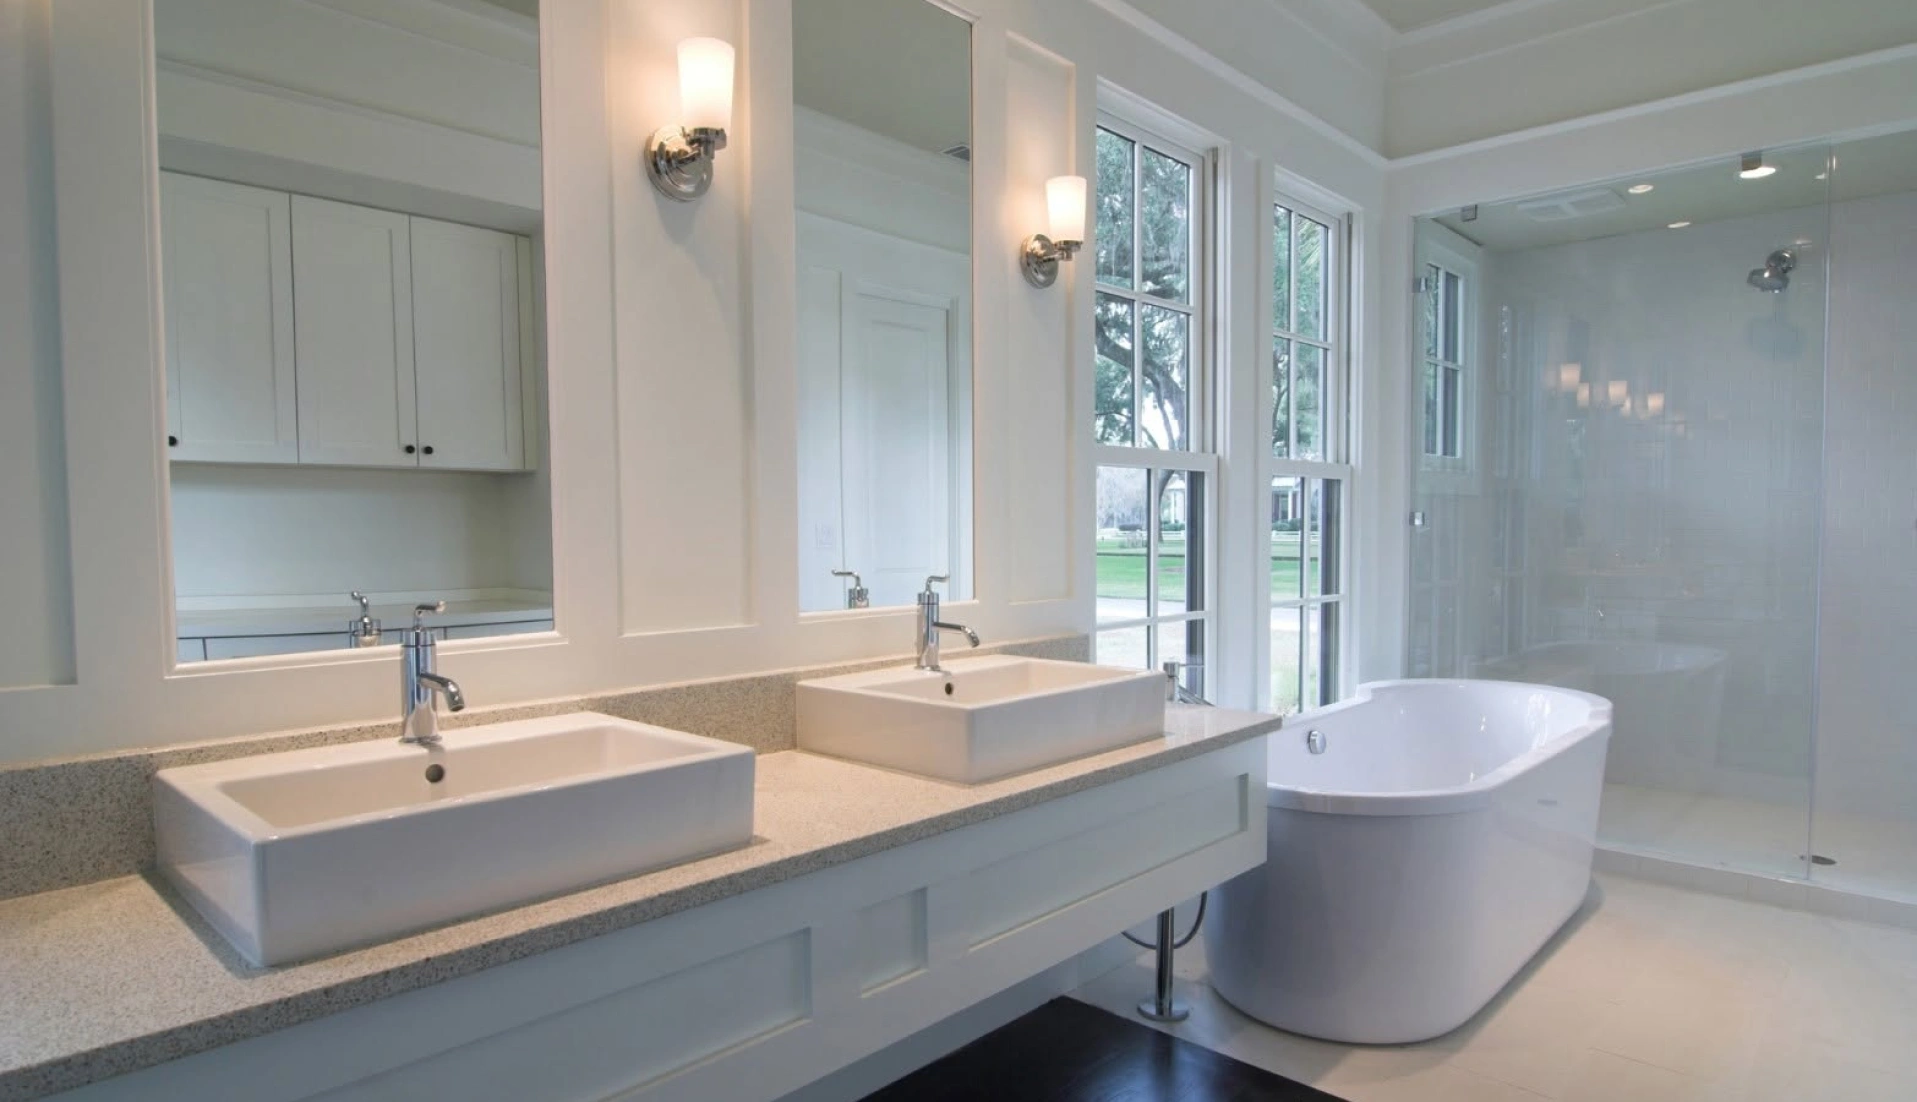
Planning your bathroom transformation
Before you pick up a single tool, spend time planning your bathroom transformation. This phase determines whether your project runs smoothly or becomes a costly headache. Start by measuring your bathroom carefully, noting the locations of plumbing lines, electrical outlets, and ventilation. In Charleston’s older homes, you’ll often find unique layouts that require creative solutions, so understanding your exact dimensions prevents expensive mistakes later.
Set a realistic budget that includes a 15-20% cushion for unexpected discoveries. Bathroom remodels frequently uncover hidden issues like water damage or outdated wiring, especially in our humid coastal climate where moisture can silently compromise structures over time. Research material costs at local suppliers and compare quality tiers to find the sweet spot between durability and affordability.
Create a detailed timeline that accounts for permit processing, material delivery, and your own availability. Most DIY bathroom remodels take 4-6 weeks when tackled on evenings and weekends. If you’re working during Charleston’s sweltering summer months, plan your most physically demanding tasks for early mornings when temperatures are manageable.
Demolition and preparation work
Demolition feels satisfying, but approach it strategically to avoid damaging elements you want to keep. Start by shutting off water and electrical supplies to the bathroom. Remove fixtures in reverse order of installation: mirrors and accessories first, then the toilet, vanity, and finally the tub or shower. Salvage anything in good condition for resale or donation, which helps offset your material costs.
Protect your floors and doorways with heavy-duty plastic sheeting and cardboard. Bathroom demo creates an incredible amount of dust and debris that can migrate throughout your home if not properly contained. In Charleston’s older homes with wood floors, this protection becomes especially important as construction grit can scratch finishes that have survived decades of use.
As you remove old materials, inspect the wall studs and subfloor for moisture damage, mold, or structural issues. Our coastal humidity means water problems are more common than in drier climates. Address any damage now, before you cover it with beautiful new finishes. This inspection phase often reveals why a professional assessment can save money in the long run, identifying issues that require specialized knowledge to repair correctly.
Installing new fixtures and features
With your bathroom stripped to the studs and any repairs completed, you’re ready for the exciting part: installation. Begin with the rough plumbing and electrical work, which typically requires permits and inspections. If you’re not confident with these systems, this is the moment to bring in licensed professionals. Water and electrical mistakes create safety hazards and expensive damage that far outweigh the cost of hiring qualified help.
Install your tub or shower pan next, as everything else builds around these large fixtures. Ensure proper waterproofing with a quality membrane system, which is non-negotiable in our humid climate. Many DIYers underestimate how much moisture Charleston bathrooms endure, leading to mold and rot problems that emerge months or years later.
Once waterproofing passes inspection, install your tile or wall surrounds, working from bottom to top. Take your time with layout, using spacers for consistent grout lines and a level to check your work constantly. Rushing through tile installation creates a permanently crooked result that announces itself every time you use the bathroom. After tile comes the vanity, toilet, and finishing fixtures. When you reach this stage and realize the complexity involved, you might appreciate why many homeowners choose to work with experienced professionals. Reach out to discuss your bathroom project if you’d like guidance on which tasks make sense for DIY and which benefit from professional expertise.
Finishing touches that make the difference
The final phase transforms your functional bathroom into a beautiful space. Start with grouting your tile, using a high-quality, mold-resistant grout appropriate for wet areas. Apply grout in sections, working it into joints with a rubber float held at a 45-degree angle. Clean excess grout promptly with a damp sponge, making diagonal passes to avoid pulling grout from the joints.
Paint your walls and ceiling with moisture-resistant paint formulated for bathrooms. Standard wall paint will peel and mildew in the humid conditions our coastal location creates. Choose a satin or semi-gloss finish that resists moisture and cleans easily. Apply painter’s tape carefully around your new fixtures and tile edges for crisp lines that look professionally finished.
Install your mirrors, lighting fixtures, towel bars, and other accessories with attention to placement and height. These details affect daily usability more than most people realize. A mirror hung two inches too high or a towel bar placed awkwardly can irritate you for years. Measure standard heights and adjust based on your household’s needs rather than just eyeballing placement.
Finally, caulk all joints where different materials meet: tub-to-wall, vanity-to-wall, and trim-to-wall. Use 100% silicone caulk for wet areas, applying it in a continuous bead and smoothing with a wet finger or caulk tool. Quality caulking prevents water infiltration that damages your beautiful new bathroom from behind the scenes.
When to call in professional help
DIY bathroom remodeling offers satisfaction and potential savings, but knowing your limits prevents costly mistakes. Certain tasks require licensed professionals: relocating plumbing, upgrading electrical panels, structural modifications, and complex tile patterns. Attempting these without proper expertise often creates problems that cost more to fix than hiring qualified help from the start.
Consider your available time honestly. A bathroom remodel that drags on for months creates daily inconvenience and often results in rushed, lower-quality work as frustration builds. If you’re juggling a demanding job, family responsibilities, or other commitments, professional help might make more sense than you initially thought.
Many homeowners find a hybrid approach works best: handling demolition, painting, and finishing work themselves while hiring professionals for plumbing, electrical, and tile installation. This strategy captures DIY savings on straightforward tasks while ensuring quality results on complex work. With years of experience in bathroom remodeling throughout Charleston, we’ve seen how proper planning and knowing when to ask for help leads to beautiful, lasting results. Whether you need full project management or guidance on specific challenges, we’re here to help your bathroom transformation succeed. Your bathroom should function flawlessly and look stunning for years to come, and sometimes that means combining your DIY spirit with professional expertise where it matters most.